Categories
Xiaomi Laptop Keyboard
Acer Laptop Keyboard
Apple Laptop Keyboard
Asus Laptop Keyboard
Compaq Laptop Keyboard
Dell Laptop Keyboard
Gateway Laptop Keyboard
HP Laptop Keyboard
Lenovo Laptop Keyboard
Sony Laptop Keyboard
Samsung Laptop Keyboard
Toshiba Laptop Keyboard
PackardBell Laptop Keyboard
Huawei Laptop Keyboard
Home : : Asus Laptop Keyboard : :
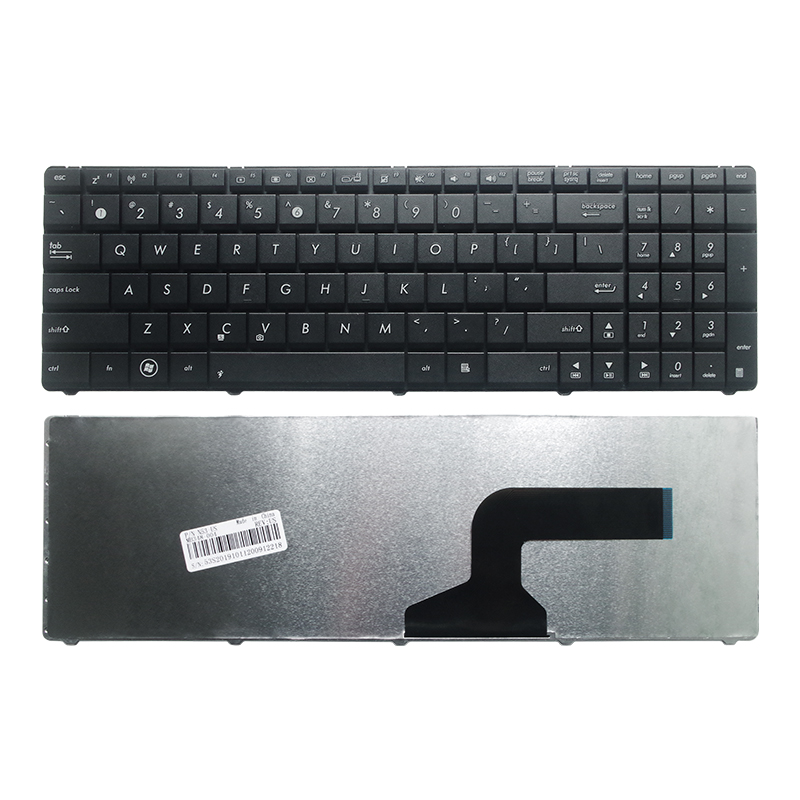
ASUS 0KN0-LY1ND021 Keyboard


ASUS 0KN0-LY1ND021 Keyboard

Tips: If you need other keyboard layouts, you can contact us by
Whatsapp +86 13080651989 Or by email service@cheaplaptopkeyboard.com
Whatsapp +86 13080651989 Or by email service@cheaplaptopkeyboard.com
ASUS 0KN0-LY1ND021 Keyboard Introduction
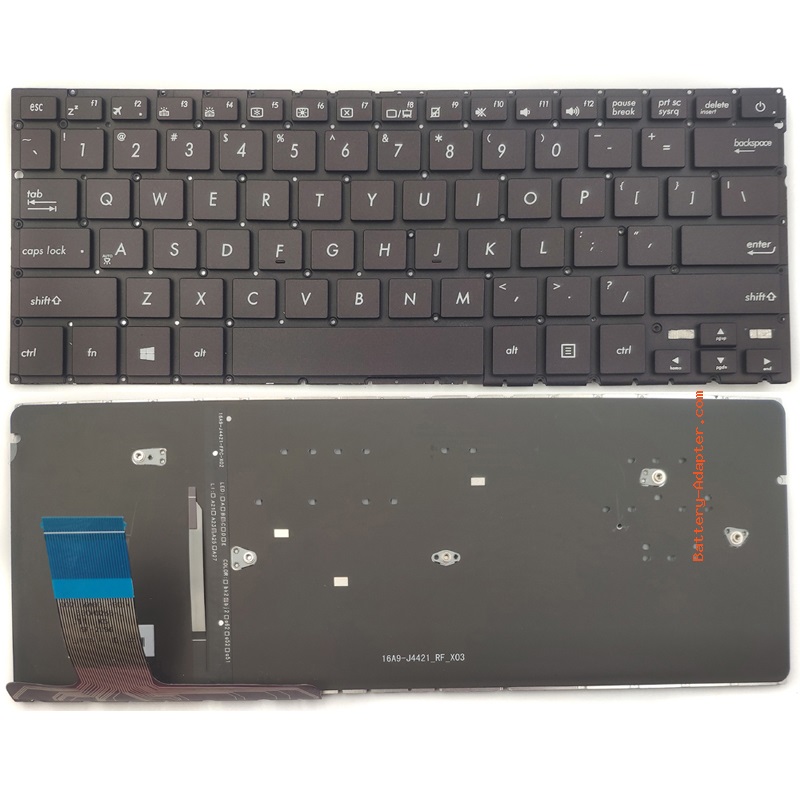
ASUS 0KN0-LY1ND021 Keyboard is a high quality replacement keyboard which is perfect for replacing your old and broken laptop keyboard. US Layout and brand new, 100% compatible with your laptop, with 12 months warranty for manufacturer's defects and 30-days money-back guarantee on all products.
How to choose the correct ASUS 0KN0-LY1ND021 Keyboard?
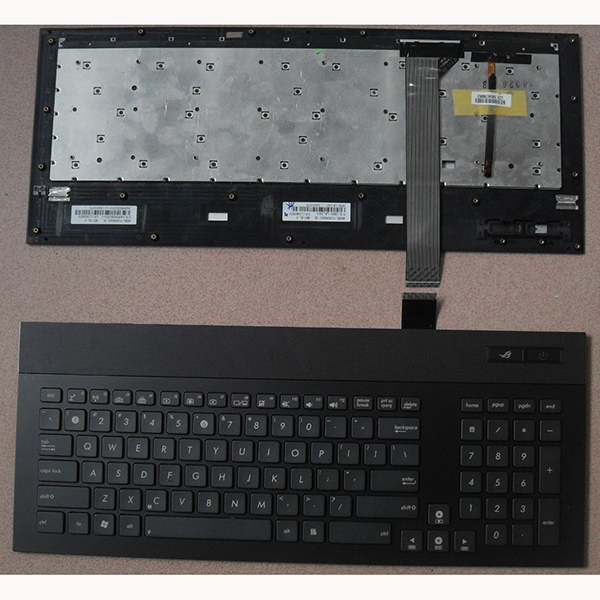
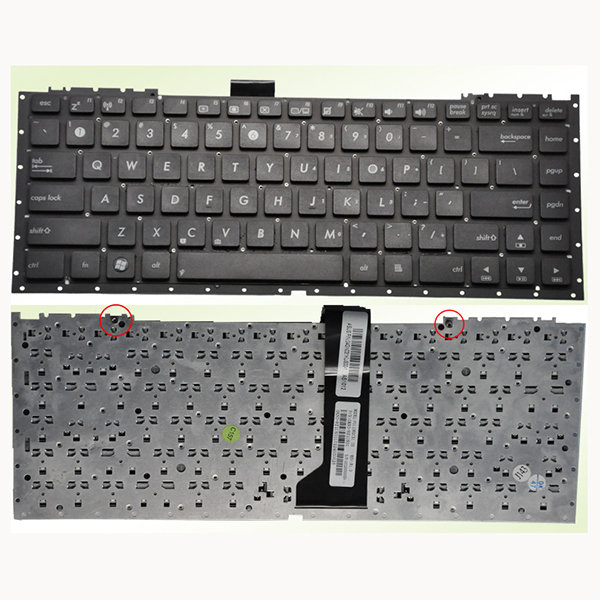
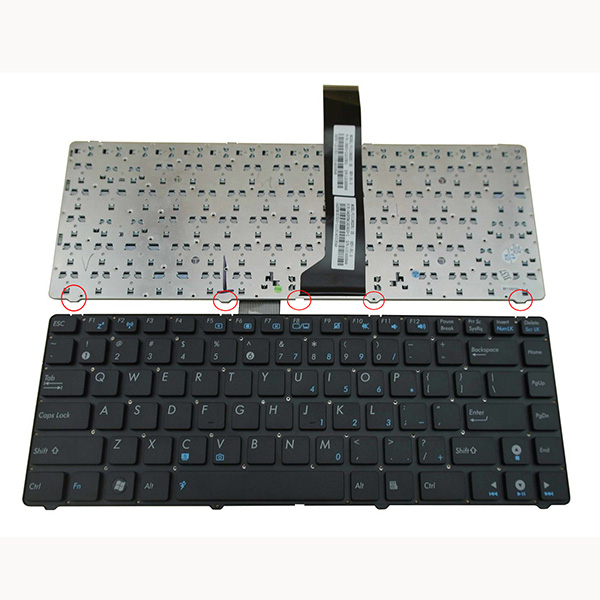
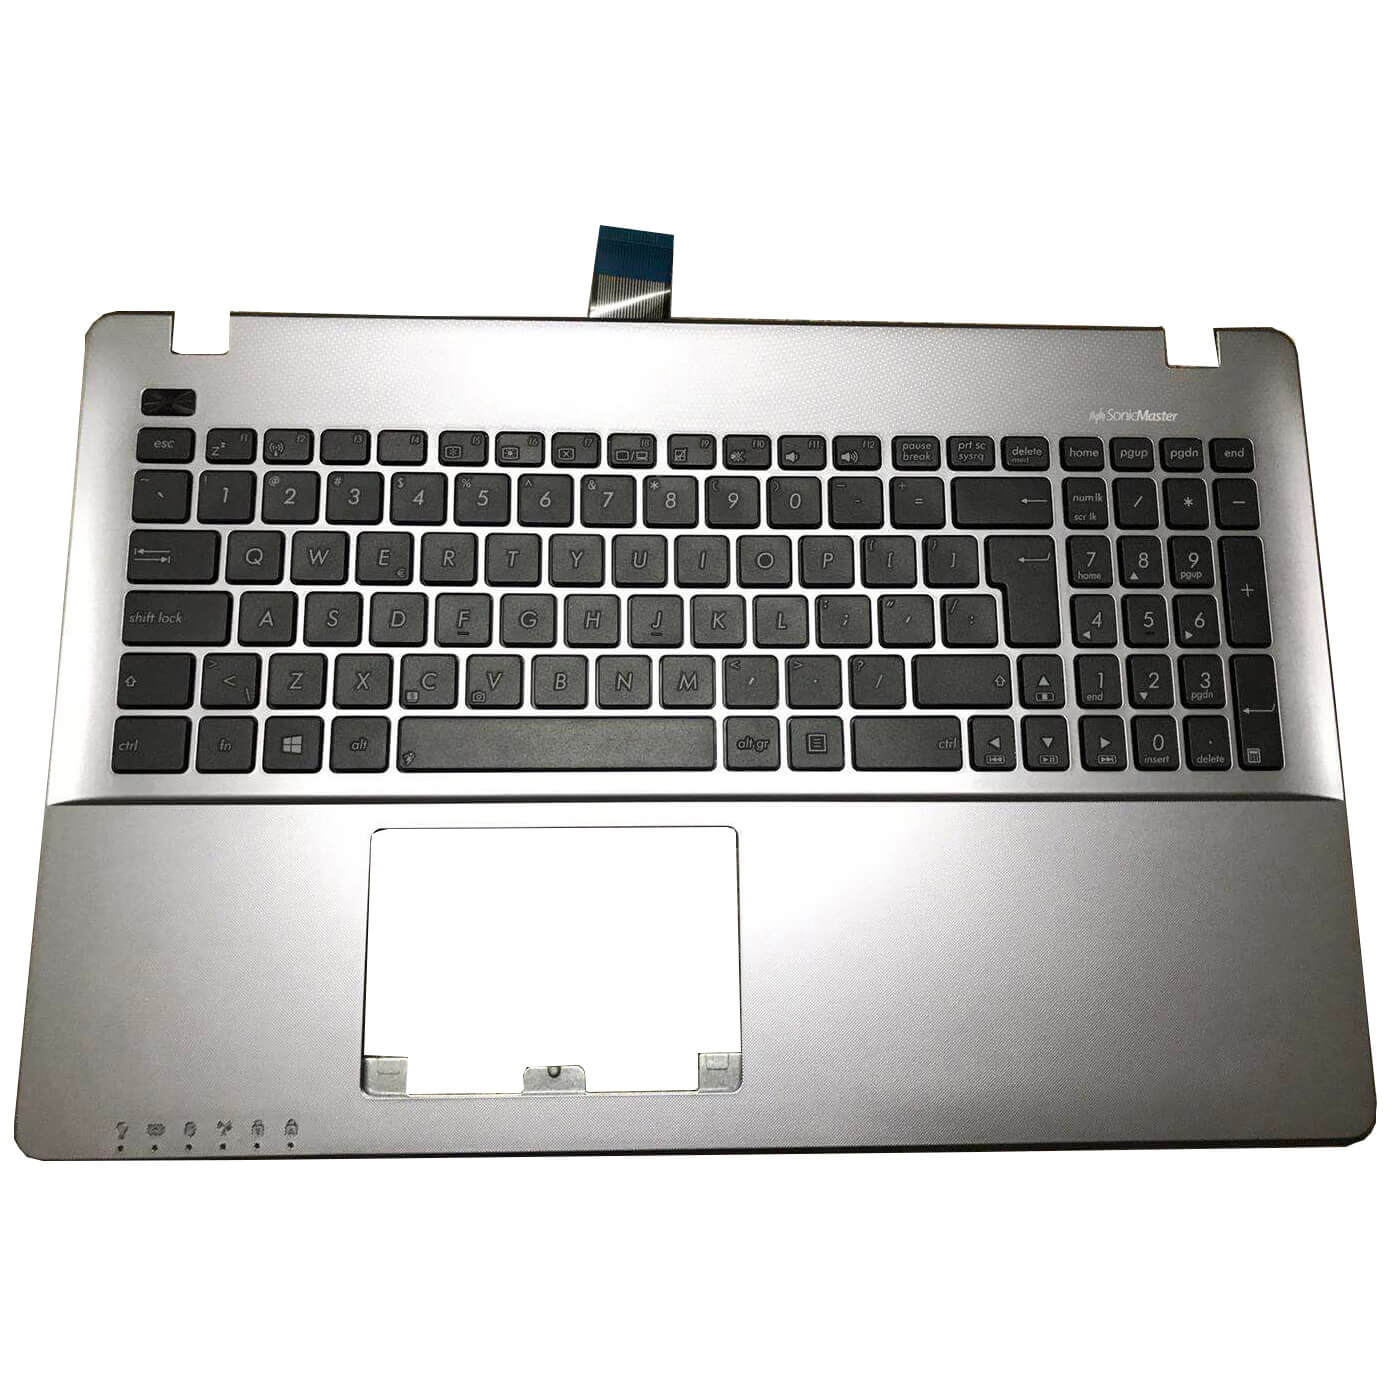
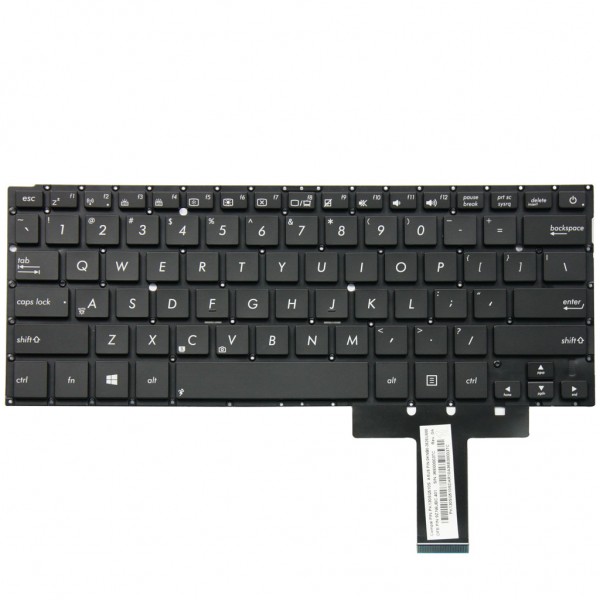
Before you order,Please firstly compare the picture with your keyboard, especially the ribbon cable (position, length and width). Make sure that the model of laptop and part number of keyboard is the right one you need as well as the layout version. If you are still not sure after a comparation, please Contact us.
ASUS 0KN0-LY1ND021 Keyboard Fits Parts NO.
ASUS 0KN0-LY1ND021 Keyboard Fit Laptop Model.
How to Install / Replace your ASUS 0KN0-LY1ND021 Keyboard?
- Turn off your laptop. Disconnect the AC adapter and any cables, then remove the battery. Turn the laptop over and let it cool off for a few minutes before you begin.
- On the underside of the notebook, you'll find screws holding the keyboard and palm rest in place. Set the screws aside, and be sure to keep track of them all.
- Turn it over and open the Lid. Slide your fingers under the top of the palm rest and gently pull it up, moving from the center to the outer left and right edges. Leaving the fingerprint reader attached, place the palm rest down in front of the unit.
- Lift the damaged ASUS 0KN0-LY1ND021 Keyboard up from the front, then pull it toward you to release it from the notebook's frame. Pull up on the connector to detach.
- Attach the new ASUS 0KN0-LY1ND021 Keyboard replacement's connector. Position it over the space vacated by the old connector, and press down firmly until it snaps into place. Slide the top of the keyboard under the lip of the frame (near the display). Ensure that the top edges are just under the frame. Tilt the keyboard down until it lays flat and sits flush with the top, left, and right edges of the frame.
- Align the bottom edge of the palm rest along the base of the frame, then press down until the top is also in place. Press firmly on the left and right edges to snap the palm rest into place again.
- Close the Lid, and turn the notebook over. Replace all the screws, making sure to tighten them securely. Insert the battery, plug in your AC adapter, and enjoy your new keyboard.
- Company Info
- About Cheaplaptopkeyboard
- Location & Working Hours
- Site Map
- Customer Service
- Contact Us
- Track Your Order
- FAQs
- Payment & Shipping
- Payment Methods
- Shipping Guide
- Locations We Ship To
- Company Policies
- Return Policy
- Privacy Notice
- Terms of Use
- Other Business
- Wholesale
- Dropship
- Partners
Copyright © 2026 www.cheaplaptopkeyboard.com. All Rights Reserved.